Logo
The logo is an essential element of brand identification in any business. Using one of the free tools from the MDBootstrap environment - Logo Generator, we will create a simple logo that we will add to the navbar in our portfolio.
Of course, such a logo will not replace a fully professional logotype created by a designer, but it will certainly be enough to start.
Step 1 - create a logo
Go to the Logo generator page. Here you can see a few available options.
You can change the text:
You can change the font:
You can change the icon:
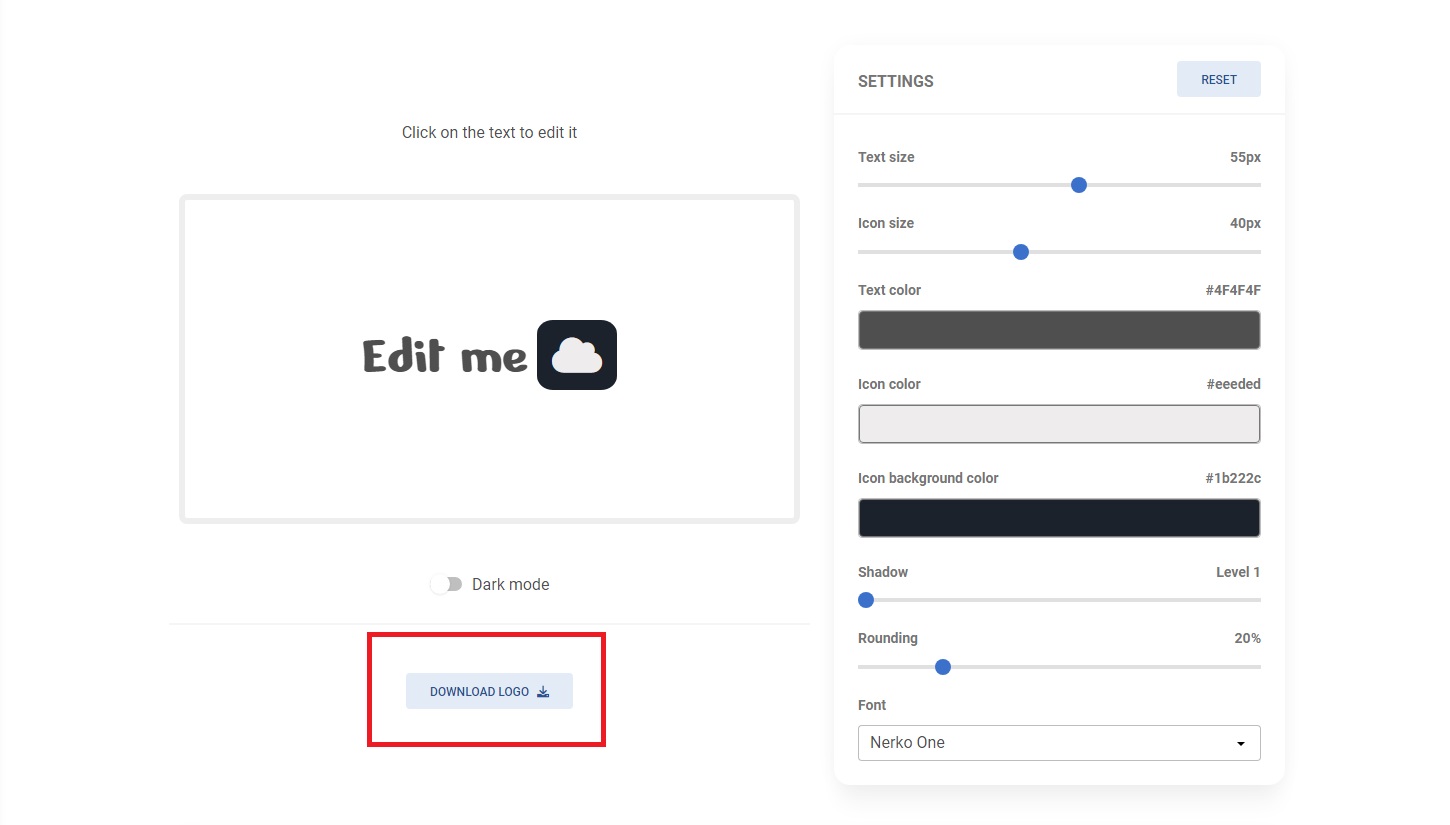
You can change the size, colors, shadows and roundings:
So after you play a bit with it, remove the text, choose the icons you like and adjust it according to your preferences.
Step 2 - download the logo you created
Below you will find a blue "DOWNLOAD LOGO" button. Click on it and the logo you created will be downloaded to your computer.
Step 3 - compress your logo
Simple but important step - use Compressor tool (or any other similar tool) to make any of your images lighter.
Then move your logo to the root folder in your project.
Step 4 - add logo to the navbar
In Navbar, look for the comment <!-- Logo -->, which will
show you where to change the graphics.
Then you need to replace the link in the src attribute with the
path leading to the logo that you added to your project in the
root folder.
Additionally, you can adjust the size of the logo by manipulating
height. I changed the height to 20px.
    <!-- Logo -->
    <a
      class="mb-4 me-5 ms-2 mt-3 flex items-center text-neutral-900 hover:text-neutral-900 focus:text-neutral-900 dark:text-neutral-200 dark:hover:text-neutral-400 dark:focus:text-neutral-400 lg:mb-0 lg:mt-0"
      href="#">
      <img src="./logo.png" style="height: 20px" alt="TE Logo" loading="lazy" />
    </a>

About author
Michal Szymanski
Co Founder at TW Elements and MDBootstrap / Listed in Forbes „30 under 30" / Open-source enthusiast / Dancer, nerd & book lover.
Author of hundreds of articles on programming, business, marketing and productivity. In the past, an educator working with troubled youth in orphanages and correctional facilities.